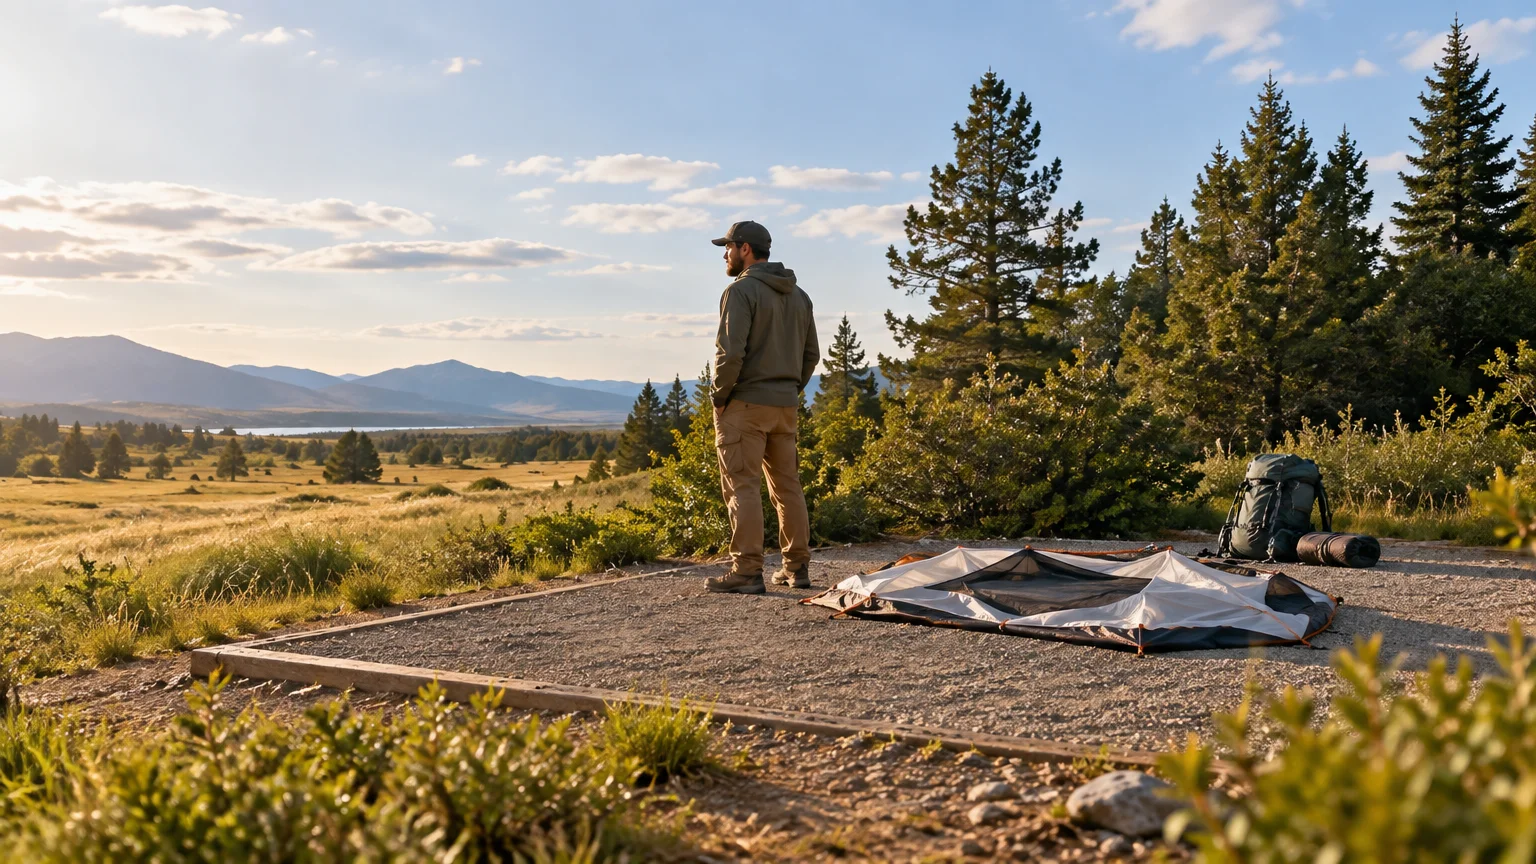
TLDR: Good tent camping wind site selection starts with the designated, level, well-drained spot that has moderate shelter without dangerous trees overhead. Avoid exposed ridges, open field centers, cliff edges, flood-prone ravines, and calm-looking depressions that may collect rain. Check the forecast and identify a substantial building or hard-topped vehicle before pitching. Stakes and guylines improve a suitable setup, but they cannot make a hazardous location safe.
When the breeze is already moving branches as you arrive, resist the urge to unload immediately. Walk the entire campsite first. The best spot is rarely the place with the widest view or the single calmest pocket. It is the place that balances legal placement, wind exposure, drainage, tree condition, family movement, and access to real shelter if the weather worsens.
Tent camping wind site selection at a glance
| Site factor | Better choice | Features to avoid |
|---|---|---|
| Exposure | A designated pad with partial protection from terrain or a healthy stand of trees | Ridge tops, cliff edges, open field centers, and fully exposed shorelines |
| Drainage | Level or gently elevated ground where water can drain away | Hollows, ditches, ravines, muddy areas, and visibly sunken pads |
| Trees | An area clear of dead, broken, leaning, or damaged trees and limbs | Dead trees, hanging branches, split trunks, or roots lifting in saturated soil |
| Campground layout | A tent position that stays within the pad and preserves a clear route to the vehicle | Expanding into vegetation or blocking roads, parking areas, and shared paths |
| Storm access | A site with a known route to a substantial building or hard-topped vehicle | A location where the tent or an open-sided shelter is the only storm refuge |
| Tent fit | Enough room for the full tent, guylines, and safe movement around the setup | A cramped corner that forces guylines into traffic or the tent against brush |
Check the weather before choosing between sites
A breezy forecast and an approaching thunderstorm require different decisions. Ordinary wind may be manageable with a sheltered site and a properly secured tent. Thunder, severe-weather alerts, or rapidly deteriorating conditions shift the priority from campsite comfort to access to safe shelter.
There is no responsible universal wind-speed cutoff for every tent. Performance depends on the tent model, pole condition, complete setup, anchoring surface, wind direction, gust intensity, and surrounding terrain. Follow campground instructions, weather alerts, and the tent manufacturer’s limits rather than treating one number as a guarantee.
Before unloading, identify where everyone will go if thunder begins. According to the National Weather Service lightning safety guidance, a tent and an open-sided picnic shelter are not safe lightning shelters. A substantial building or hard-topped vehicle is the safer option, and campers should wait at least 30 minutes after the last thunder before returning outdoors.
Start with the designated tent area
In a developed campground, begin with the assigned tent pad or established camping surface. Choose a site that already fits your tent and group rather than extending the setup into surrounding vegetation. This protects the site and usually keeps tents out of drainage channels, road margins, and informal shortcuts.
Fit means more than checking the tent’s floor dimensions. Account for the rainfly, vestibule, guylines, door swing, and a walking route that children can follow without tripping over stakes. Keep the tent out of the vehicle’s path and away from the cooking or fire area. The National Park Service recommends inspecting a campsite before unpacking and considering exposure, drainage, tree hazards, and separation from cooking or fire spaces.
If you are comparing reservable sites before the trip, study campground photos and maps for tree cover, open fields, shoreline exposure, and the distance to parking or buildings. Noise and wind are different issues, but the same careful map-reading approach used to choose a quieter campsite in a busy campground can help you notice exposed roads, busy paths, and loop layouts before booking.
Read the terrain without choosing a drainage trap
Terrain can soften wind, but the lowest location is not automatically the best one. A depression may feel calm when you arrive and then collect runoff when rain begins. Ravines and drainage channels pose a more serious problem because water can rise or move through them. Exposed high points are also poor choices because they receive more wind and offer less protection.
Look for level or nearly level ground that is not visibly sunken. Clues that water may collect include flattened debris, water stains, soft mud, channels cut through soil, or a pad sitting below the surrounding surface. After rain, examine where puddles remain. In dry weather, imagine where water from the road, slope, or neighboring sites would travel.
A useful natural windbreak may be a broad hill, stable boulders, dense shrubs outside the tent pad, or a healthy stand of trees at some distance. The goal is to reduce direct exposure, not to press the tent against an obstacle. Leave enough room to pitch the tent fully, tension the rainfly, and walk around it for inspections.
Use trees as a buffer only after inspecting them
Trees can reduce routine wind exposure, but “camp under trees” is not a complete safety rule. Wind can dislodge dead limbs or worsen existing damage. A sheltered woodland pad may be preferable to an open field only when the nearby trees and overhead area do not show obvious hazards.
Stand back and look up before pitching. Check the space directly over the tent and the area from which a tree or branch could fall. Warning signs a camper can recognize include dead or leafless limbs among otherwise living growth, broken branches caught overhead, a visibly split trunk, a strongly leaning dead tree, exposed or lifting roots, and fresh storm damage. If anything looks questionable, ask campground staff for another pad or another approved position within the site. Campers should not attempt to remove large branches themselves.
Conditions can also change during the stay. Saturated ground, stronger gusts, or newly fallen debris deserve another inspection. If campground staff close a site or instruct guests to move, treat that as an operational safety decision rather than an inconvenience.
Position the tent within the chosen site
Once the location passes the exposure, drainage, and tree checks, use the tent manual as the final authority for model-specific orientation and setup. Tent shapes vary, and the direction intended to face the wind is not always obvious. Practical setup guidance includes staking the tent promptly, attaching the supplied guylines, and maintaining proper rainfly tension.
When the manufacturer does not specify otherwise, avoid aiming a broad, nearly vertical tent wall directly into the expected wind. Position the door so opening it will not readily scoop wind or admit wind-driven rain, while preserving a safe and convenient exit. Local terrain can redirect gusts, so watch grass, leaves, flags, and nearby tents rather than relying only on the regional wind direction.
A practical setup sequence
- Lay out the tent on the approved surface and confirm that doors and guylines will not enter a road, parking space, fire area, or common walking route.
- Assemble and stake the tent according to its instructions instead of leaving an unstaked body loose while organizing gear.
- Install the rainfly and all manufacturer-supplied guylines needed for the expected conditions.
- Use stakes appropriate for the permitted ground surface, following campground rules about what may be driven into the soil.
- Tension the shelter evenly. An overtightened corner can distort the tent rather than strengthening it.
- Recheck stakes, guylines, and rainfly tension after the fabric settles or the weather changes. Keep loose gear secured so it cannot blow through neighboring sites.
Do not attach a tent or guyline to campground fixtures or vegetation unless the campground explicitly allows it. Never drive stakes without considering marked utility areas or site rules. If the pad cannot accept the required anchoring system, ask staff what alternatives are permitted rather than improvising a damaging or unreliable setup.
Know when a better pitch is not enough
Guy lines address tent stability; they do not provide lightning protection. If you hear thunder, move promptly to the substantial building or hard-topped vehicle identified during arrival. Do not wait inside the tent to see whether the storm gets closer, and do not use an open picnic pavilion as a substitute for proper shelter.
Lightning guidance also advises avoiding ridge tops, open fields, and tall isolated objects when thunderstorms threaten. A campsite that was reasonable for ordinary wind may therefore become unsuitable as conditions change. Be willing to pause setup, lower or pack the tent if that can be done safely before the storm, or leave the site according to campground and emergency instructions.
A note for backcountry campers
The same fundamentals—legal placement, durable ground, drainage, exposure, tree inspection, and weather awareness—apply beyond developed campgrounds. The rules do not always match, however. Required distances from water, trails, roads, or other campsites vary by land manager and location. Do not assume a commonly repeated setback is universal. Check the current permit and camping rules for the specific park, forest, or public land unit before departure.
Backcountry decisions also carry greater consequences because a hard-topped vehicle or substantial building may not be nearby. Route planning, local weather knowledge, turnaround decisions, and location-specific lightning guidance should be settled before the trip—not improvised after a tent is pitched.
Six checks before you unload
- Forecast: Check current conditions, expected gusts, thunderstorms, and official warnings.
- Shelter: Identify the nearest substantial building or hard-topped vehicle and the route to it.
- Surface: Use the designated pad or established durable area that fits the complete tent.
- Drainage: Reject hollows, ravines, ditches, and places receiving runoff from higher ground.
- Overhead area: Inspect nearby trees and limbs for visible death, damage, leaning, or breakage.
- Setup room: Confirm that doors, stakes, and guylines will not block traffic or force the camp into vegetation.
Choose the site first, then trust the setup
The best windy-weather tent site is not necessarily the calmest corner. Choose the safest available designated pad that combines moderate wind protection, sound drainage, a clear overhead area, and practical access to real storm shelter. Then orient, stake, and guy out the tent according to its instructions.
For your next trip, check the campground-specific forecast before leaving home and arrive before dark when possible. At check-in, ask about exposed loops, recent tree damage, closed sites, and the designated severe-weather location. Walk the full site before unloading. Those few minutes of tent camping wind site selection will do more for a comfortable night than trying to correct a poor location with extra cord after the tent is already up.