Camping and biking often go hand in hand, offering outdoor enthusiasts a chance to explore nature’s wonders on two wheels. But getting your bikes safely to your camping destination requires proper mounting techniques to ensure both convenience and safety. In this comprehensive guide, we’ll walk you through the steps of mounting bikes to your car, ensuring a seamless journey to your next camping adventure.
Choose the Right Bike Rack
Before you can start mounting your bikes, you need the right bike rack for your car. There are several types available, including roof racks, hitch racks, and trunk-mounted racks. Consider factors such as the number of bikes you need to transport, ease of installation, and compatibility with your vehicle.
Prep Your Car and Bike
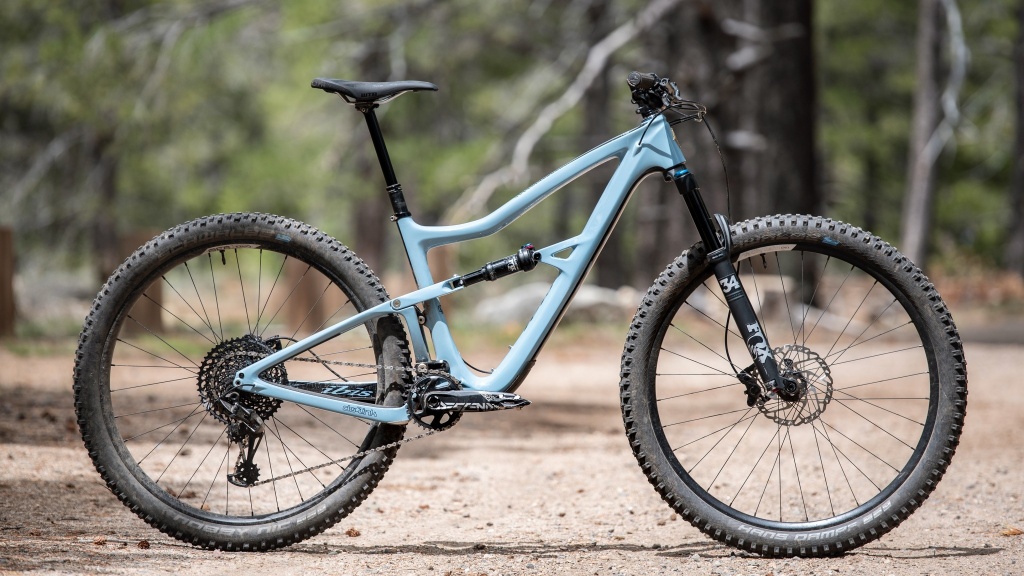
Ensure your car is clean and free of debris before installing the bike rack. This will prevent scratches and damage to your vehicle’s surface. Additionally, check your bikes for any loose parts or accessories that could come off during transit. Securely tighten bolts, adjust seat heights, and remove any protruding items.
Install the Bike Rack
Follow the manufacturer’s instructions to install the bike rack securely on your car. For roof racks, attach the crossbars to the roof rails and then affix the bike mounts. Hitch racks require inserting the rack into the hitch receiver and securing it with a hitch pin. Trunk-mounted racks typically strap onto the rear of the vehicle.
Position the Bikes
Once the bike rack is installed, carefully position your bikes onto the rack. Place them in such a way that they are evenly distributed and securely fastened. Use straps or clamps to hold the bikes in place, ensuring they don’t wobble or shift during transit.
Secure the Bikes
Double-check that each bike is securely fastened to the rack. Tighten straps or clamps as needed to prevent movement. It’s also a good idea to use additional security measures such as cable locks or bike locks to deter theft during stops.
Test the Setup
Before hitting the road, give your bike rack setup a thorough test. Shake the bikes gently to ensure they’re securely fastened and won’t come loose while driving. Check all straps, clamps, and locks to make sure everything is properly engaged.
Drive with Caution
When driving with bikes mounted to your car, be mindful of their presence. Take corners and turns slowly to prevent swaying or tipping of the bikes. Avoid sudden stops or accelerations, and be aware of low-clearance obstacles such as overhangs or garage entrances.
Regular Maintenance
After each trip, inspect your bike rack and bikes for any signs of wear or damage. Clean the rack to remove dirt, grime, and road salt that can cause corrosion. Lubricate moving parts as needed to ensure smooth operation.
Conclusion
Mounting bikes to your car opens up a world of possibilities for camping and outdoor adventures. By following these steps and precautions, you can safely transport your bikes to your next camping destination and enjoy exploring nature on two wheels. So pack up your gear, hit the road, and get ready for an unforgettable camping experience with your trusty bikes in tow.